 Save
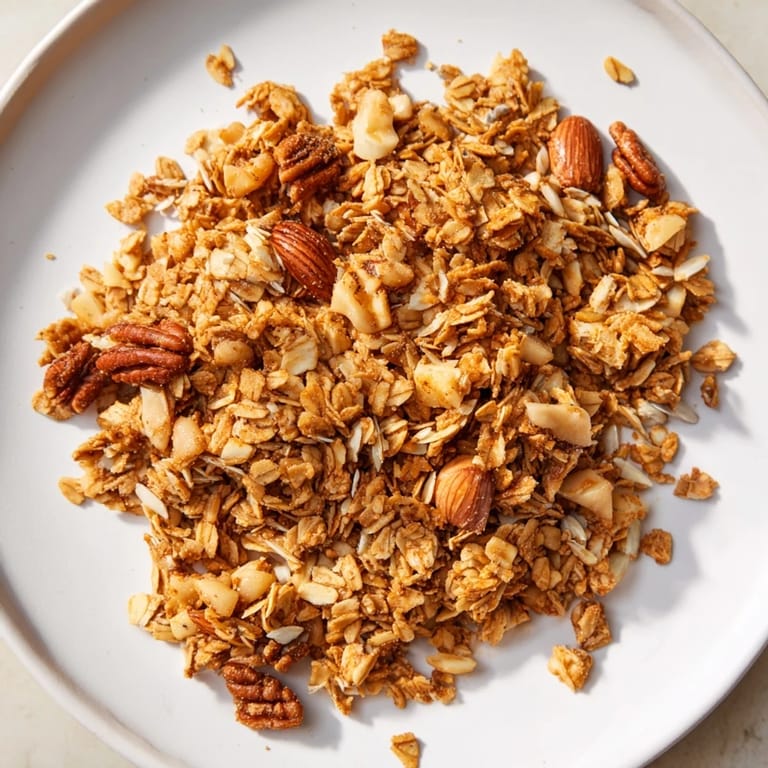
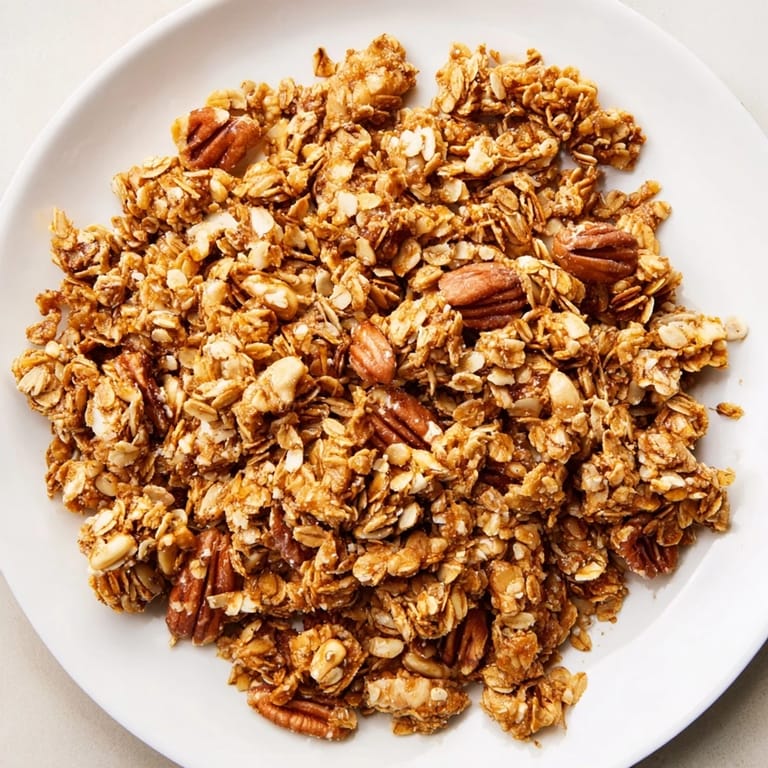
Save There's something almost magical about the moment when honey and warm oil meet in a saucepan, filling your kitchen with that amber, buttery smell. I stumbled into making granola clusters on a lazy Sunday morning when I realized my go-to cereal box was empty, and instead of heading to the store, I decided to see what I could create from the pantry. That first batch came out crackling and golden, nothing like the dense, chewy granola I'd made before—these were shattered into perfect little clusters that seemed to stay crispy for days. It became the kind of recipe I return to whenever I want something that feels homemade but doesn't demand much fussing.
I brought a batch to my mom's place last spring, and she immediately started rationing them into small mason jars to make them last—I'd never seen her do that with store-bought granola. She kept one jar by her coffee maker and would grab a handful every morning, and somehow it became this little ritual between us, her texting me when she was running low. That's when I realized this recipe wasn't just about breakfast; it was about creating something people actually looked forward to eating.
Ingredients
- Old-fashioned rolled oats (3 cups): These are the backbone of your clusters—they hold everything together while staying pleasantly chewy inside and crisp on the outside, so don't swap them for instant oats or steel-cut.
- Mixed nuts (1 cup, roughly chopped): Almonds, pecans, and walnuts are my go-to mix, but the key is chopping them unevenly so you get both fine pieces that bind the clusters and bigger chunks that give you something to sink your teeth into.
- Unsweetened shredded coconut (1/2 cup, optional): This adds a subtle tropical note and extra crunch, though it's entirely skippable if you don't have it or prefer a nut-focused blend.
- Sunflower or pumpkin seeds (1/3 cup): These add earthiness and keep the granola from feeling too heavy—I always use sunflower seeds because they're cheaper and somehow taste more toasted after baking.
- Ground cinnamon (1/2 teaspoon): Just enough to warm the flavor without making it taste like dessert; it plays beautifully with the honey.
- Salt (1/4 teaspoon): This tiny amount doesn't make anything taste salty—it's just there to make the sweetness pop and wake up all the other flavors.
- Honey (1/2 cup): The liquid gold that binds everything and creates those crispy clusters; don't use honey that's already crystallized because you want it to flow smoothly over the dry ingredients.
- Coconut oil or melted butter (1/4 cup): This is what gives the granola its signature crunch and golden color—coconut oil keeps it vegan-friendly, but butter adds a richer flavor if that's your preference.
- Pure vanilla extract (1 teaspoon): Use the real stuff; artificial vanilla gets lost in the baking and tastes hollow.
Tired of Takeout? 🥡
Get 10 meals you can make faster than delivery arrives. Seriously.
One email. No spam. Unsubscribe anytime.
Instructions
- Heat your oven and prep your stage:
- Set the oven to 325°F and line your baking sheet with parchment paper—this step matters because it prevents sticking and makes cleanup effortless. Trust me, trying to peel granola off bare metal is frustrating.
- Blend the dry ingredients:
- Combine your oats, chopped nuts, coconut, seeds, cinnamon, and salt in a large mixing bowl. Take a moment to run your hands through it and feel the texture; you want everything evenly distributed so no bite is purely oats.
- Warm and combine the wet mixture:
- In a small saucepan over low heat, gently warm the honey and coconut oil (or butter) until they're fully combined and flowing—this should take just a minute or two, and you're listening for a soft sizzle, not watching it bubble aggressively. Remove from heat and stir in the vanilla extract.
- Coat everything thoroughly:
- Pour the warm wet mixture over the dry ingredients and mix with a spatula until every oat and nut glistens with honey and oil. This is the moment where patience pays off; keep stirring until nothing looks dry.
- Spread and press into clusters:
- Spread the mixture onto your parchment-lined baking sheet and gently press it down into a compact, even layer about half an inch thick—this compression is what creates those crispy clusters instead of scattered granola pieces. It feels almost like you're making a granola bar, but you'll break it apart later.
- Bake until golden and fragrant:
- Bake for 20 to 25 minutes, rotating the pan halfway through so it browns evenly. You'll know it's ready when the edges are deep golden brown and your kitchen smells like toasted nuts and caramel.
- Cool completely without touching:
- This is the hardest part—resist the urge to stir or move the granola while it's cooling. Let it sit on the baking sheet for at least 20 to 30 minutes until it's completely cool and has set into crispy clusters.
- Break and store:
- Once cooled, break the granola into bite-sized clusters with your hands. Store everything in an airtight container at room temperature where it will stay crispy for up to two weeks.
 Save
Save One morning, my neighbor caught the smell of granola baking while she was watering her garden, and she actually came over mid-bake to see what I was making. We ended up having coffee together and talking about how small moments in a kitchen—the sounds, the smells, the act of making something from scratch—can turn an ordinary Tuesday into something worth remembering. She became my first regular granola customer, ordering batches to bring to her office.
The Secret to Perfect Clusters
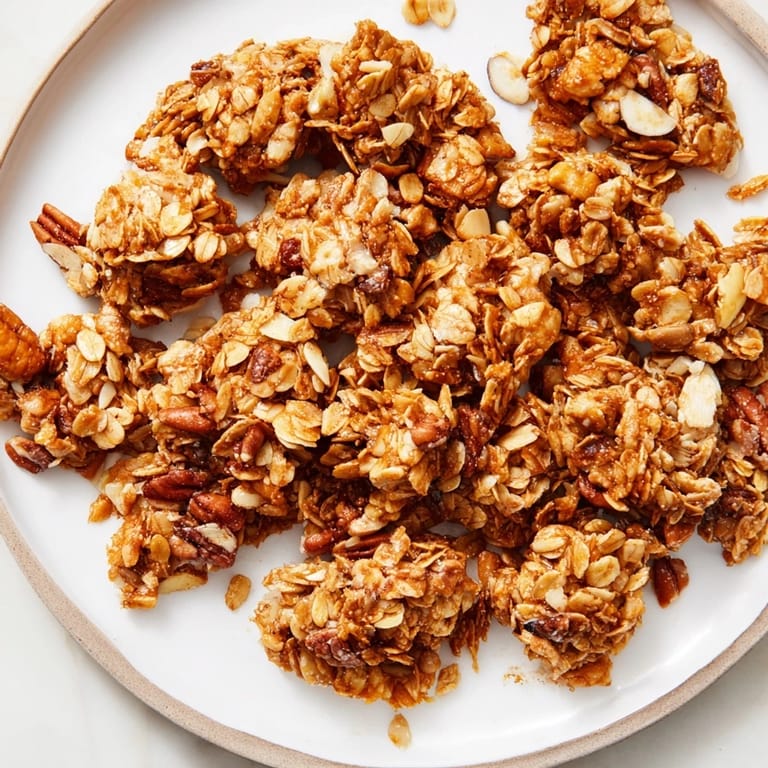
The difference between granola and granola clusters comes down to one thing: compression and patience. When you press the mixture firmly onto the baking sheet before baking, you're creating a solid foundation that bakes together as one piece. Then, as it cools untouched, it sets into naturally broken clusters rather than individual scattered pieces. I learned this the hard way after my first batch turned out as loose granola, and once I figured out the pressing step, everything changed.
Customizing Your Batch
What I love most about this recipe is how easily it adapts to whatever you have on hand or whatever you're craving that week. In fall, I'll add extra cinnamon and swap walnuts for pecans. In summer, I've thrown in crushed freeze-dried strawberries right after it cooled, creating these little pockets of tart sweetness. The core recipe stays the same, but the variations feel endless, so it never gets boring.
Serving and Storage Ideas
Beyond cereal-bowl breakfasts, these clusters have shown up in my kitchen in unexpected ways. I've layered them with yogurt and berries for a quick parfait, sprinkled them over ice cream on hot days, and even crushed them to top baked apples in winter. The airtight container keeps them fresh for up to two weeks, though I've never had them last that long because we keep sneaking handfuls straight from the jar.
- For a vegan twist, swap the honey for maple syrup and use coconut oil instead of butter—press the mixture extra firmly so it holds together without the dairy.
- If you want to add dried fruit, wait until after baking and cooling so the fruit stays chewy instead of hardening in the oven.
- Keep your jar in a cool, dry spot away from humidity, and if the granola ever goes soft, just spread it on a baking sheet and toast it at 250°F for 5 minutes to bring back the crunch.
 Save
Save Making granola clusters has become one of my favorite kitchen traditions, the kind of thing I do when I want to feel grounded and present without the pressure of a complicated recipe. It's simple enough to make on any morning but special enough to feel homemade, and that balance is exactly why I keep coming back to it.
Saffron Brook Recipe Q&As
- → What nuts are used in these clusters?
A blend of almonds, pecans, and walnuts provides a crunchy texture and rich flavor.
- → Can I substitute honey with another sweetener?
Yes, maple syrup works well as a vegan-friendly alternative, helping bind the clusters similarly.
- → How do I achieve crunchy clusters instead of crumbly granola?
Press the mixture firmly on the baking sheet before baking and avoid stirring after it cools to maintain cluster shapes.
- → Is shredded coconut necessary?
No, shredded coconut is optional but adds additional texture and subtle flavor.
- → What is the best way to store these clusters?
Keep them in an airtight container at room temperature; they stay fresh for up to two weeks.
- → Can these clusters be served with other foods?
They pair perfectly with yogurt, milk, or can be enjoyed as a standalone snack.