 Save
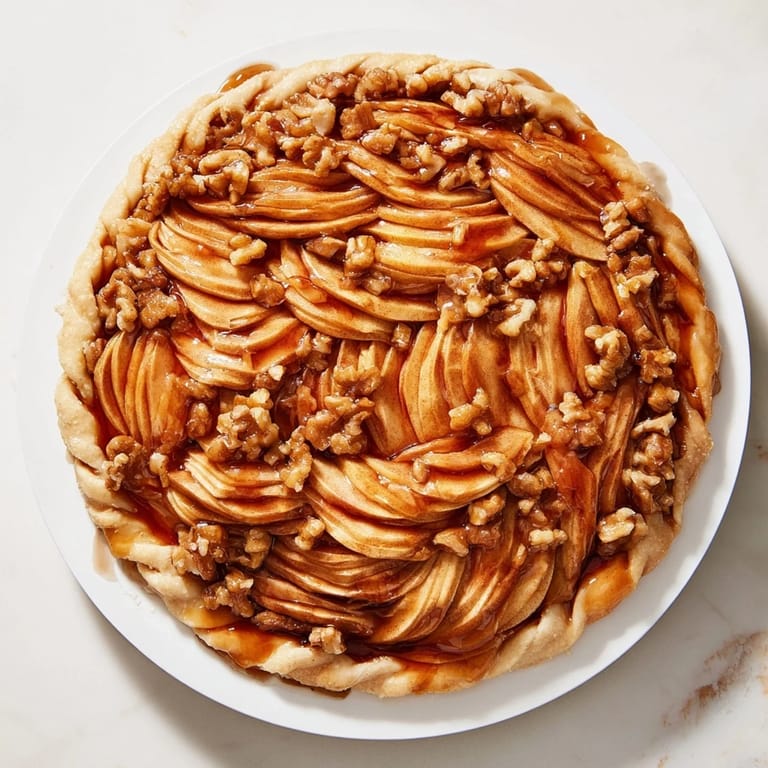
Save I first made this tart on a crisp October afternoon when my neighbor dropped off a bag of apples from her orchard, and I suddenly felt the weight of using them well. The idea came to me while organizing my kitchen—walnuts and honey sitting side by side, apples waiting to be transformed into something that looked almost too beautiful to eat. What started as an experiment in layering flavors became a dish I'd make again and again, each time discovering something new in the interplay of sweet and tart.
I remember bringing this to a dinner party where I didn't know many people, and watching someone's face light up when they took the first bite—the buttery crust giving way to honeyed walnuts, then that cool snap of apple. Somehow food does what conversation can't always manage, and this tart became the thing everyone asked about before dessert was even finished.
Ingredients
- All-purpose flour: The foundation of your crust, and keeping it cold is half the battle for flakiness.
- Unsalted butter: Cold, cubed, and non-negotiable if you want a crust that actually shatters when you bite it.
- Granulated sugar and salt: The seasoning that makes everything taste more like itself.
- Ice water: Add it gradually—dough doesn't need a bath, just a whisper of moisture.
- Walnuts: Chop them fairly fine so they bind with the honey into a cohesive filling.
- Honey: Use the real stuff; it's the soul of this filling and worth not cutting corners.
- Light brown sugar and cinnamon: These warm spices are what make people say 'tastes like autumn' without even thinking about it.
- Apples: Honeycrisp or Granny Smith work beautifully; you want fruit that holds its shape and has enough personality to taste like something.
- Lemon juice: A small amount keeps apples from browning and adds brightness that balances the sweetness.
Tired of Takeout? 🥡
Get 10 meals you can make faster than delivery arrives. Seriously.
One email. No spam. Unsubscribe anytime.
Instructions
- Preheat and prepare your workspace:
- Set your oven to 375°F and grease a 9-inch tart pan with a light hand—you want it ready to go, not gleaming. Clear a large, clean surface nearby because you'll need space to build your lattice without feeling rushed.
- Make the crust:
- Combine your flour, sugar, and salt in a bowl, then work in the cold butter until it looks like coarse breadcrumbs—the little butter pieces are what create those flaky layers you're after. Sprinkle ice water over gradually, mixing gently until the dough just barely holds together; overworking it is the enemy. Press it into your pan with your fingertips, evening out the bottom and sides, then prick the base a few times with a fork to prevent bubbling.
- Blind bake the crust:
- Line it with parchment paper and fill with pie weights or dried beans to keep the sides from slumping, then bake for 12 minutes. Remove the weights and parchment, let it bake another 5 minutes until it's just barely golden—you're not cooking it fully, just setting its structure. Let it cool for a moment while you move to the next step.
- Build your filling:
- Mix the chopped walnuts, honey, brown sugar, cinnamon, and salt in a bowl until everything is evenly combined, then spread this across your cooled crust in an even layer. The honey will seem thick, but it'll soften slightly as it bakes and everything melds together.
- Prepare the apples:
- Peel them if you like the look (I often leave the skin on for color), then core and slice them as thinly as you can manage—a mandoline makes this easier, but a sharp knife works too. Toss the slices gently with lemon juice, sugar, and cinnamon so every piece gets a light coating.
- Create the lattice:
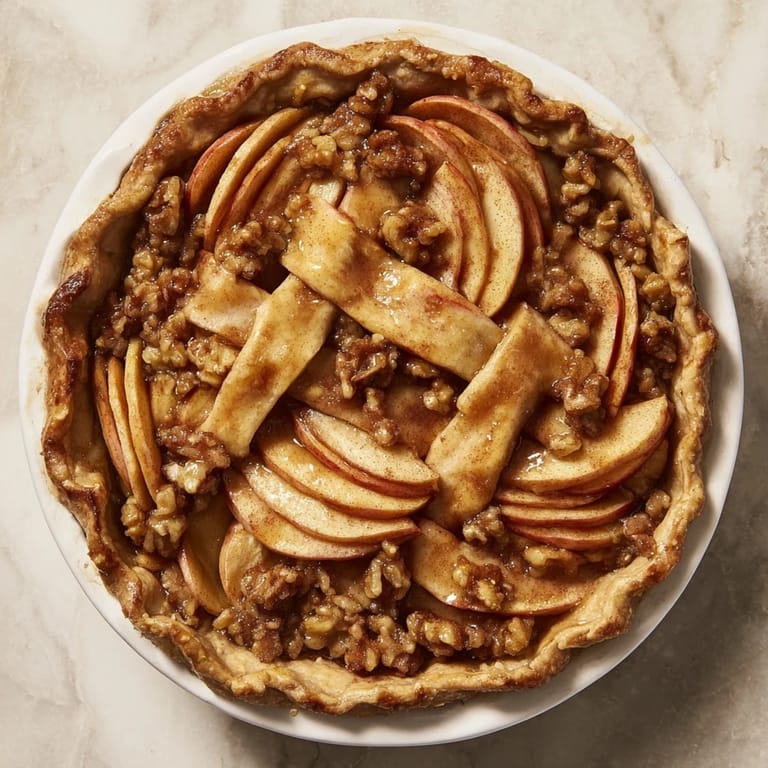
- Lay a long sheet of parchment on your counter and arrange about half your apple slices in parallel rows, overlapping them slightly so they're stable. Now take your remaining slices and weave them over and under in the opposite direction, creating that satisfying lattice pattern—it doesn't need to be perfect, just intentional. When you're happy with it, carefully slide it onto your tart, trimming any edges that overhang dramatically.
- Bake and finish:
- Cover the tart loosely with foil and bake for 20 minutes, then remove the foil and bake another 10 to 15 minutes until the apples look tender and the edges are golden brown. The apples will continue to soften as it cools, so don't wait for them to look completely soft in the oven.
 Save
Save There's something magical about pulling this tart from the oven and seeing the apples have transformed from thin, delicate slices into something warm and yielding, the lattice having shrunk and shifted slightly in the heat so it looks even more organic and real. That's when you know it's working.
Why Apples Matter Here
The apple choice genuinely changes this tart's personality. Honeycrisp gives you sweetness and a slight honey undertone that echoes the filling; Granny Smith brings tartness that cuts through richness and keeps each bite interesting. I've made this with both, and I've watched people react differently depending on which one is underneath their fork. The thin slicing is what makes the lattice possible—thick apples would be stubborn, refusing to weave and breaking at the bends. Thin slices are flexible, almost delicate, which is why they work in a weaving pattern but also why you need a sharp blade or a mandoline to get there.
The Walnut and Honey Layer
This filling is intentionally modest in depth but bold in flavor, meant to be a bridge between the buttery crust and the bright fruit above. The walnuts give structure and earthiness, while the honey melts slightly during baking and creates tiny sweet pockets throughout. I've learned that chopping the walnuts fairly fine (not to dust, but smaller than halves) helps them bind together with the honey instead of staying separate. The brown sugar adds moisture and a deeper sweetness than white sugar would, and the cinnamon ties everything to autumn without screaming spice.
Serving and Keeping
This tart is best served warm or at room temperature, when the crust is still tender and the flavors are all speaking to each other clearly. Cold from the fridge, it becomes firmer and less forgiving, though still good. It keeps well for two days covered loosely on the counter, and honestly, it's just as satisfying on day two as it was fresh, especially with vanilla ice cream melting into the warm apples.
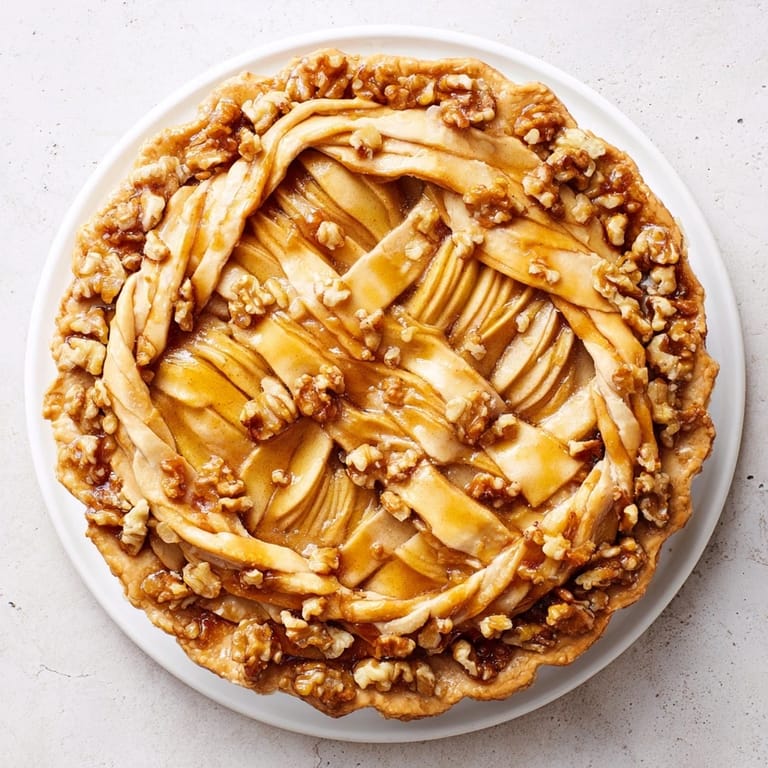
- A light brush of warmed apricot jam over the lattice right after baking adds shine and a subtle fruit note.
- Pecans work beautifully if you swap them for walnuts, giving everything a slightly buttery, softer flavor.
- Serve with whipped cream or vanilla ice cream if you want to lean into indulgence, or with nothing at all if you want the fruit to be the star.
 Save
Save This tart teaches you something every time you make it, whether it's about the particular apples you've chosen or the way your oven bakes slightly hotter on one side. That's the point—it's forgiving enough to be made often, but interesting enough to keep surprising you.
Saffron Brook Recipe Q&As
- → How do I create the apple lattice top?
Slice apples thinly and arrange half in parallel rows, slightly overlapping. Weave remaining slices over and under to form the lattice, then transfer carefully onto the tart.
- → What type of apples work best?
Firm, sweet-tart apples like Honeycrisp or Granny Smith hold their shape and offer a balanced flavor for the lattice.
- → Can I prepare the crust in advance?
Yes, the crust can be blind baked and chilled ahead of time before adding the filling and lattice.
- → What nuts are recommended for the filling?
Walnuts provide rich flavor and texture, but pecans make a tasty alternative for variation.
- → How to keep the lattice glossy after baking?
Brush the cooled lattice with warmed apricot jam to add a shiny finish and extra sweetness.