 Save
Save My niece was obsessed with Cookie Run Kingdom, and one afternoon she casually mentioned wishing she could eat Pure Vanilla Cookie. I found myself staring at pictures of that elegant, pristine character and thinking—yes, I can make that happen. The result was these delicate vanilla sugar cookies with glossy royal icing that somehow captured both the sweetness of the game and the pure joy of baking something a kid actually dreamed about.
I'll never forget my niece's face when she saw the finished cookies displayed on our kitchen counter—she actually gasped, then went quiet for a moment before asking if they were too pretty to eat. That's when I knew this recipe wasn't just about the taste, but about creating something that felt special enough to pause for. We decorated them together that evening, and she spent more time carefully piping details than she did eating, which for a seven-year-old felt like a minor miracle.
Ingredients
- All-purpose flour: The foundation that keeps everything stable—too much and your cookies become dense, so measuring by weight matters here if you can manage it.
- Baking powder: Just enough to give these cookies a slight tender crumb without making them cakey or puffy.
- Salt: The quiet ingredient that makes the vanilla actually taste like vanilla instead of just sweet.
- Unsalted butter: Room temperature is non-negotiable because cold butter won't cream properly, and creaming is where the fluffiness begins.
- Granulated sugar: Mixed with butter, it creates tiny air pockets that keep the final cookies tender and delicate.
- Egg: Binds everything together and helps the dough hold its shape during rolling and cutting.
- Pure vanilla extract: The star ingredient that makes these taste like something worth decorating—don't skip the word pure.
- Milk: A small splash that keeps the dough from getting too dry and difficult to work with.
- Powdered sugar: Must be sifted to avoid lumps that ruin smooth icing and create frustration mid-decorating.
- Meringue powder: Creates royal icing that sets hard and shiny, making these cookies stable enough to stack and gift without worry.
- Warm water: Added gradually to reach the right icing consistency—too thick and you can't pipe, too thin and nothing holds its shape.
- Gel food coloring: More concentrated than liquid coloring, so you get vibrant blues and golds without thinning your icing.
Tired of Takeout? 🥡
Get 10 meals you can make faster than delivery arrives. Seriously.
One email. No spam. Unsubscribe anytime.
Instructions
- Make your dry ingredient mixture:
- Whisk the flour, baking powder, and salt together in a medium bowl—this distributes the leavening evenly so every cookie rises and bakes consistently. Set it aside and don't rush this step.
- Cream butter and sugar:
- Beat softened butter with sugar for 2-3 minutes until the mixture looks pale and fluffy, like clouds that smell like butter. This is where the cookies get their tender texture, so take the full time.
- Bring the wet ingredients together:
- Add your egg, vanilla, and milk to the creamed butter mixture and beat until everything looks smooth and integrated. Don't overmix once you add these—just until you don't see streaks.
- Combine wet and dry:
- Gradually add your flour mixture to the wet ingredients, mixing on low speed just until the dough pulls together. Stop as soon as you see no white streaks of flour—overworking toughens the cookies.
- Chill the dough:
- Divide into two disks, wrap tightly in plastic wrap, and refrigerate for at least an hour—this prevents spreading and makes cutting shapes infinitely easier. If you're impatient like me, 45 minutes works in a pinch, but the full hour gives you the best control.
- Prepare to bake:
- Preheat your oven to 350°F and line baking sheets with parchment paper—this prevents sticking and creates even browning on the bottom. Flour your work surface lightly, not heavily, or your dough will dry out.
- Roll and cut:
- Roll chilled dough to about 1/4-inch thickness and cut into shapes using your cookie cutters—the dough should feel slightly cold and snap cleanly. Work quickly so the dough doesn't warm up and become sticky.
- Space and bake:
- Place cookies about an inch apart on your prepared sheets and bake for 10-12 minutes until the edges just barely turn golden brown. Overbaking kills the tender crumb, so set a timer and don't wander away.
- Cool properly:
- Let cookies sit on the baking sheet for 5 minutes—this firms them up slightly—then transfer to a wire rack to cool completely before icing. Warm cookies plus wet icing equals a melted mess, so patience here saves your decorating work.
- Make the royal icing:
- Combine sifted powdered sugar, meringue powder, and vanilla with 4 tablespoons warm water in a large bowl. Beat on low speed until the mixture is smooth and glossy, adding water one teaspoon at a time if needed to reach a consistency that flows slightly but holds shape.
- Color your icing:
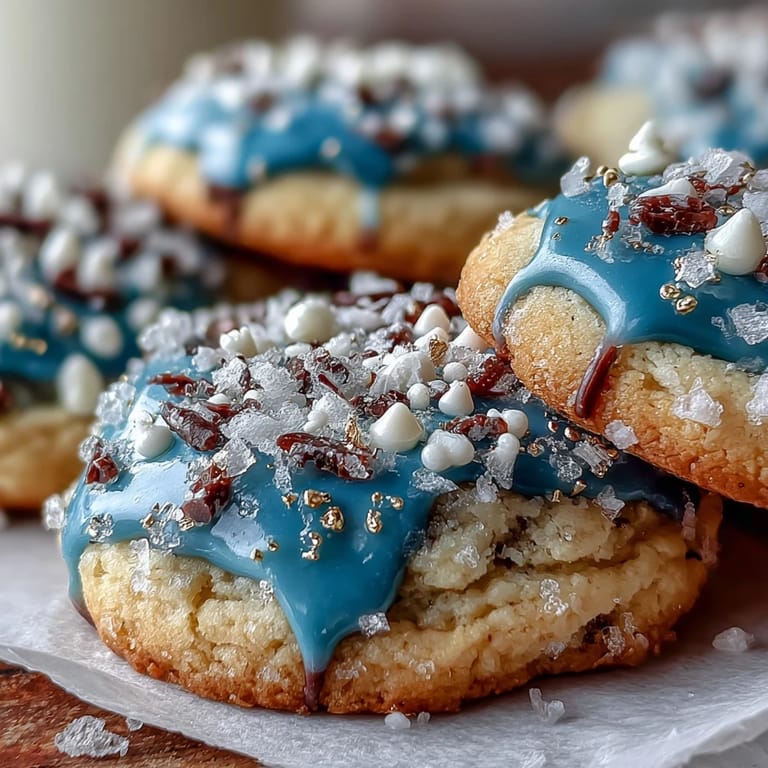
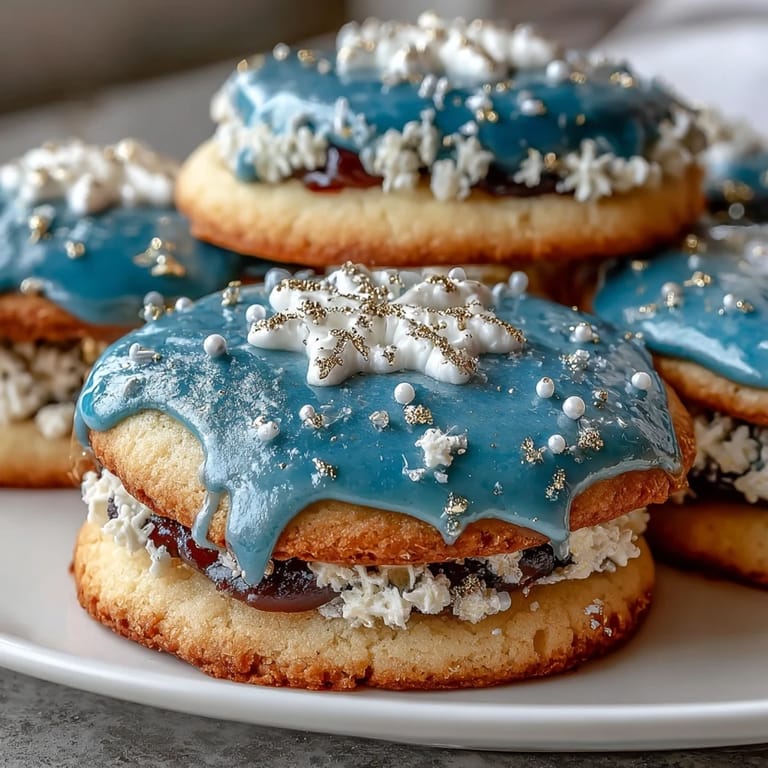
- Divide your icing into bowls and add gel food coloring drops, stirring gently until you reach the shade you want. For Pure Vanilla Cookie, blues and whites with touches of gold create that elegant, celestial look.
- Decorate with intention:
- Use piping bags or squeeze bottles to decorate fully cooled cookies—the icing hardens as it sits, creating a glossy finish that makes everything look professionally done. Take your time here because this is the fun part.
 Save
Save What struck me most while making these cookies wasn't the decorating or even the taste—it was watching my niece understand that homemade means love. She started helping with the second batch, carefully cutting shapes and later piping details, and somewhere between the flour and the icing, these cookies became a memory we were creating together rather than something she was just eating.
Why the Royal Icing Matters
Royal icing isn't just decoration; it's the glue that holds this whole experience together. The meringue powder creates that glossy, ceramic-like finish that makes these cookies look almost too pretty to touch, and it sets solid so you can stack them for gifting without everything sliding everywhere. I learned this the hard way with powdered sugar icing that stayed soft for days, but meringue powder solved that problem instantly.
Decorating Like You Mean It
The decorating part is where your personality comes in—these cookies are a blank canvas waiting for whatever colors and patterns feel right. I spent an embarrassing amount of time watching YouTube videos about royal icing consistency before realizing that if it flows slowly from a piping bag without breaking apart, you're in the right zone. The satisfaction of finishing a fully decorated cookie and setting it on the cooling rack is genuinely addictive.
Storage and Gift-Giving
These cookies stay fresh and crispy in an airtight container for up to a week, which means you can make them ahead for parties or give them as gifts without worrying they'll go stale by tomorrow. The hardened royal icing actually protects the cookies underneath, keeping them fresher longer than you'd expect. Here are the keys to keeping them perfect:
- Store in an airtight container at room temperature—refrigeration softens the icing coating.
- Stack carefully only after the icing has completely hardened, usually after a few hours or overnight.
- Include a small note if gifting about what makes these special, because presentation is half the magic.
 Save
Save These cookies represent something bigger than just flour and sugar—they're edible art that brings joy to anyone patient enough to decorate them. Make a batch and watch people's faces light up the moment they see them.
Saffron Brook Recipe Q&As
- → What makes the sugar cookies tender?
The use of softened butter and the right balance of flour ensures a tender, buttery texture in the cookies.
- → How long should the dough be chilled?
Chilling the dough for at least 1 hour helps it firm up for easier rolling and prevents spreading during baking.
- → How is the royal icing prepared?
Royal icing is made by beating powdered sugar, meringue powder, vanilla, and water until smooth and glossy, allowing easy coloring and decorating.
- → Can the icing colors be customized?
Yes, gel food coloring can be added to the royal icing to create vibrant decorations matching any theme.
- → How should the decorated cookies be stored?
Store in an airtight container at room temperature for up to one week to maintain freshness and texture.