 Save
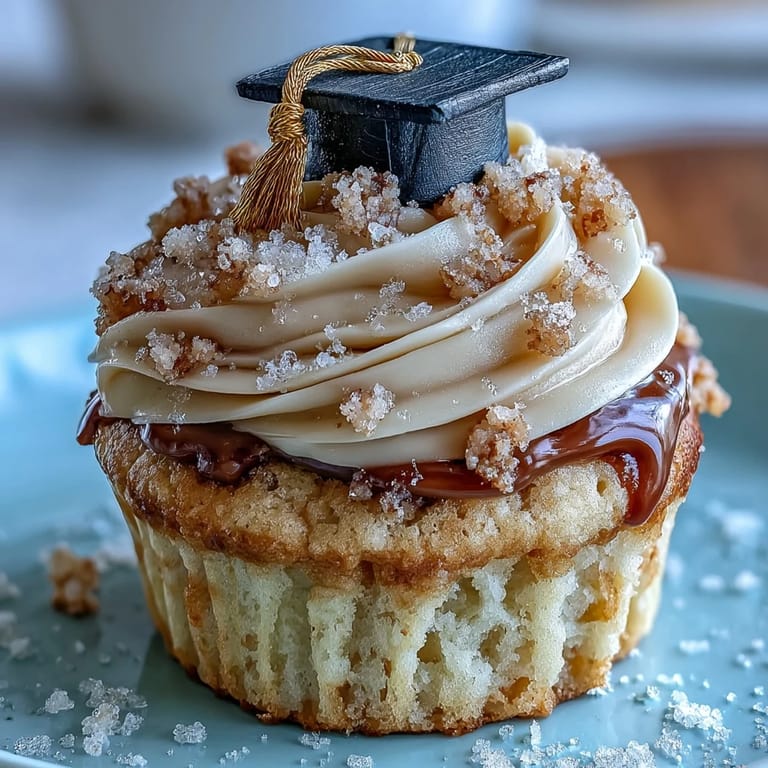
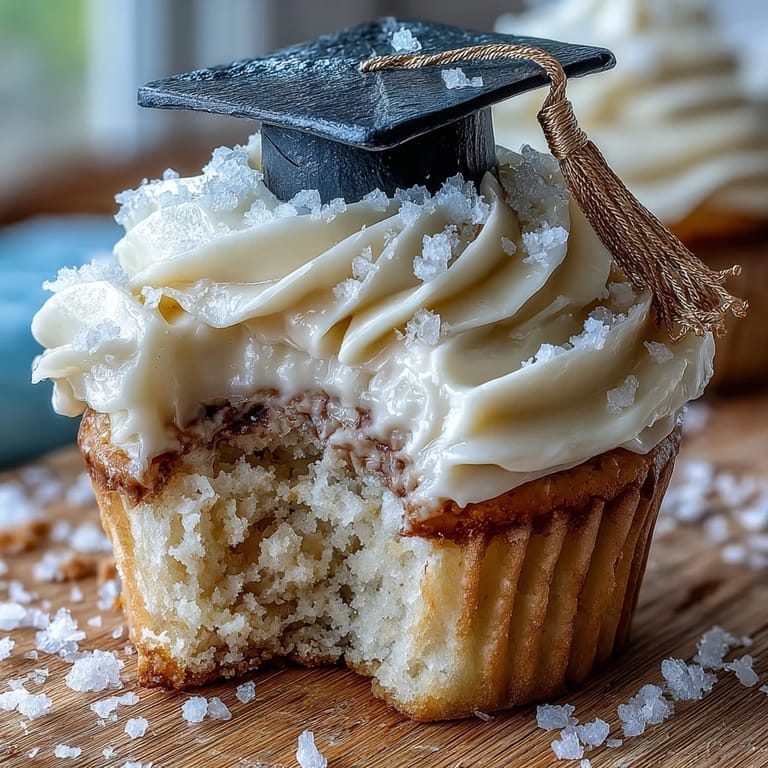
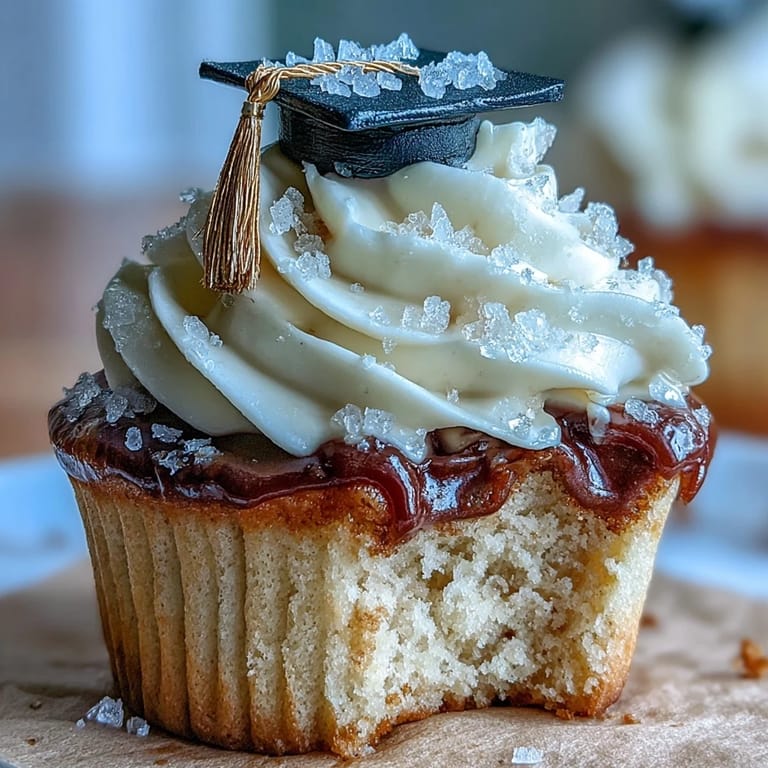
Save The faint aroma of vanilla and sugar that filled my kitchen when I tried these graduation cupcakes for the first time made it instantly feel like a celebration, even before any cap and gown came out. I wanted something that would really capture that feeling of accomplishment, but also taste like pure comfort. Discovering how easy it was to make little fondant graduation caps opened up a whole new world of party baking for me. The whole process, from mixing the fluffy batter to dusting the fondant with gold, had me smiling the entire time. There’s something so joyful about seeing each cupcake transform into a tiny edible trophy.
When my younger cousin graduated last spring, we hosted a family picnic in the backyard. Watching her laugh as she gently nudged a fondant cap askew, just like her real one, turned these cupcakes from a simple treat into a memory we teased her about all summer long.
Ingredients
- All-purpose flour: Using a scale for accuracy makes a real difference for fluffiness.
- Baking powder: Double-check it's fresh—flat cupcakes are a letdown at any celebration.
- Salt: I found just a pinch brings out the sweetness perfectly.
- Unsalted butter (for cupcakes and frosting): Room temperature butter is essential for lightness in both batter and buttercream.
- Granulated sugar: Creaming it thoroughly makes the cupcakes unbelievably tender.
- Eggs: Crack them into a cup first just to be safe: I learned that the hard way.
- Vanilla extract: Splurging on real vanilla takes these cupcakes up a level.
- Whole milk: It adds richness you can taste with every bite.
- Powdered sugar: Sifting avoids pesky lumps in your buttercream.
- Cornstarch (for rolling fondant): Keeps things from sticking and makes handling the fondant far less stressful.
- Black fondant: Works perfectly for shaping crisp, classic graduation caps.
- Gold fondant: Even a little makes the tassels pop—don’t underestimate the wow factor.
- Edible gold dust (optional): A light brush after assembling turns the caps photo-ready.
- Edible adhesive or water: Just a dab—too much soggifies your fondant.
Tired of Takeout? 🥡
Get 10 meals you can make faster than delivery arrives. Seriously.
One email. No spam. Unsubscribe anytime.
Instructions
- Prep Your Oven and Liners:
- Arrange cupcake liners in your muffin tin and set the oven to 350°F so you can work without distractions later.
- Whisk Dry Ingredients:
- Combine flour, baking powder, and salt in a bowl; you’ll hear the gentle scratch as you whisk, which always feels oddly calming.
- Cream Butter and Sugar:
- Beat the butter and sugar together until it looks pale and fluffy—don’t stop too soon, because this really sets up the cupcake’s texture.
- Add Eggs and Vanilla:
- Mix in eggs one at a time, followed by the vanilla; I love the sweet scent that wafts up as you pour it in.
- Combine Mixtures With Milk:
- Add dry ingredients to your butter mixture, alternating with milk, stirring just until smooth. Take care not to overmix.
- Bake the Cupcakes:
- Spoon batter evenly into liners and bake 18–20 minutes—your kitchen will start smelling intensely inviting. Let them cool completely before decorating.
- Make the Buttercream Frosting:
- Beat butter until creamy, then gradually add powdered sugar, milk, vanilla, and salt, whipping everything until it’s cloud-like and spreadable.
- Prepare Black Fondant Squares:
- Roll black fondant on a cornstarch-dusted surface and cut out 12 even squares; the neat edges make each cap look so polished.
- Shape and Assemble Fondant Caps:
- Form 12 small balls of black fondant and flatten them, then attach a square on top with a tiny dab of water or edible adhesive.
- Create Gold Tassels and Buttons:
- Roll thin ropes of gold fondant for tassels, attach to each cap, and add a small gold ball as a button—if you have edible gold dust, brush it on for extra celebration.
- Decorate the Cupcakes:
- Pile or pipe buttercream high on each cooled cupcake and crown with your custom grad cap. Serve proudly.
 Save
Save  Save
Save Seeing a whole tray of black and gold cupcakes lined up before guests arrived felt like dressing the table in party attire. Everyone reached for their phones before even picking one up—these treats are their own confetti moment.
Fondant Tips from My Kitchen
At first, fondant intimidated me, but keeping my hands lightly dusted with cornstarch and working quickly made all the difference. Letting the assembled caps dry for a bit helps them hold their shape and sit perfectly on the buttercream later.
Making Ahead and Storing
Baking and frosting the cupcakes a day ahead means all that’s left is adding the fondant caps just before serving. Store the frosted cupcakes in an airtight container so they stay soft and fresh for that all-important bite.
Customizing for Every Grad
It’s fun to match the fondant to your grad’s school colors, or swap in chocolate cupcakes if you know they’re a chocoholic. I once surprised a vegan friend using dairy-free butter and milk, and no one could tell the difference!
- Roll fondant a bit thicker if your kitchen is humid.
- Let kids help with the tassels—they love the hands-on part.
- Sharp knives or fondant cutters make square caps much easier.
 Save
Save  Save
Save Hope these cupcakes make your grad feel as celebrated as they deserve. Wishing you golden memories and sweet, happy gatherings every time you bake them.
Saffron Brook Recipe Q&As
- → How do I keep fondant caps from sweating?
Let cupcakes cool completely and allow buttercream to crust before adding fondant. Avoid refrigerating finished cupcakes; condensation forms when cold items hit warm air. Store caps and finished items in a cool, dry place in an airtight container.
- → Can I make the fondant caps ahead of time?
Yes. Roll and shape caps on cornstarch-dusted surface, then store flat in a single layer in an airtight box. Add tassels and gold dust just before placing on the topped cupcakes for best appearance.
- → What gives the best gold shine on fondant?
Use edible gold dust for dry brushing or mix the dust with a tiny amount of clear food-grade alcohol or lemon extract to paint. Apply sparingly and layer until you reach the desired shine.
- → What buttercream consistency works for holding caps?
A slightly firm, pipeable buttercream that forms a light crust is ideal. Beat butter and sifted sugar until smooth, add a little milk to reach pipable thickness, then chill briefly if it feels too soft before topping.
- → Are there easy vegan or dairy-free swaps?
Use plant-based butter and a non-dairy milk like oat or soy; replace eggs with flax or commercial egg replacer for the cupcakes. Check fondant labels for vegan-friendly formulations or use a vegan modeling paste alternative.
- → How do I form tiny tassels and attach them securely?
Roll thin ropes of gold fondant, score or fray one end with a needle or small knife to mimic tassel strands, and attach with a dab of edible adhesive or water. Secure a tiny fondant button over the top for the finished look.